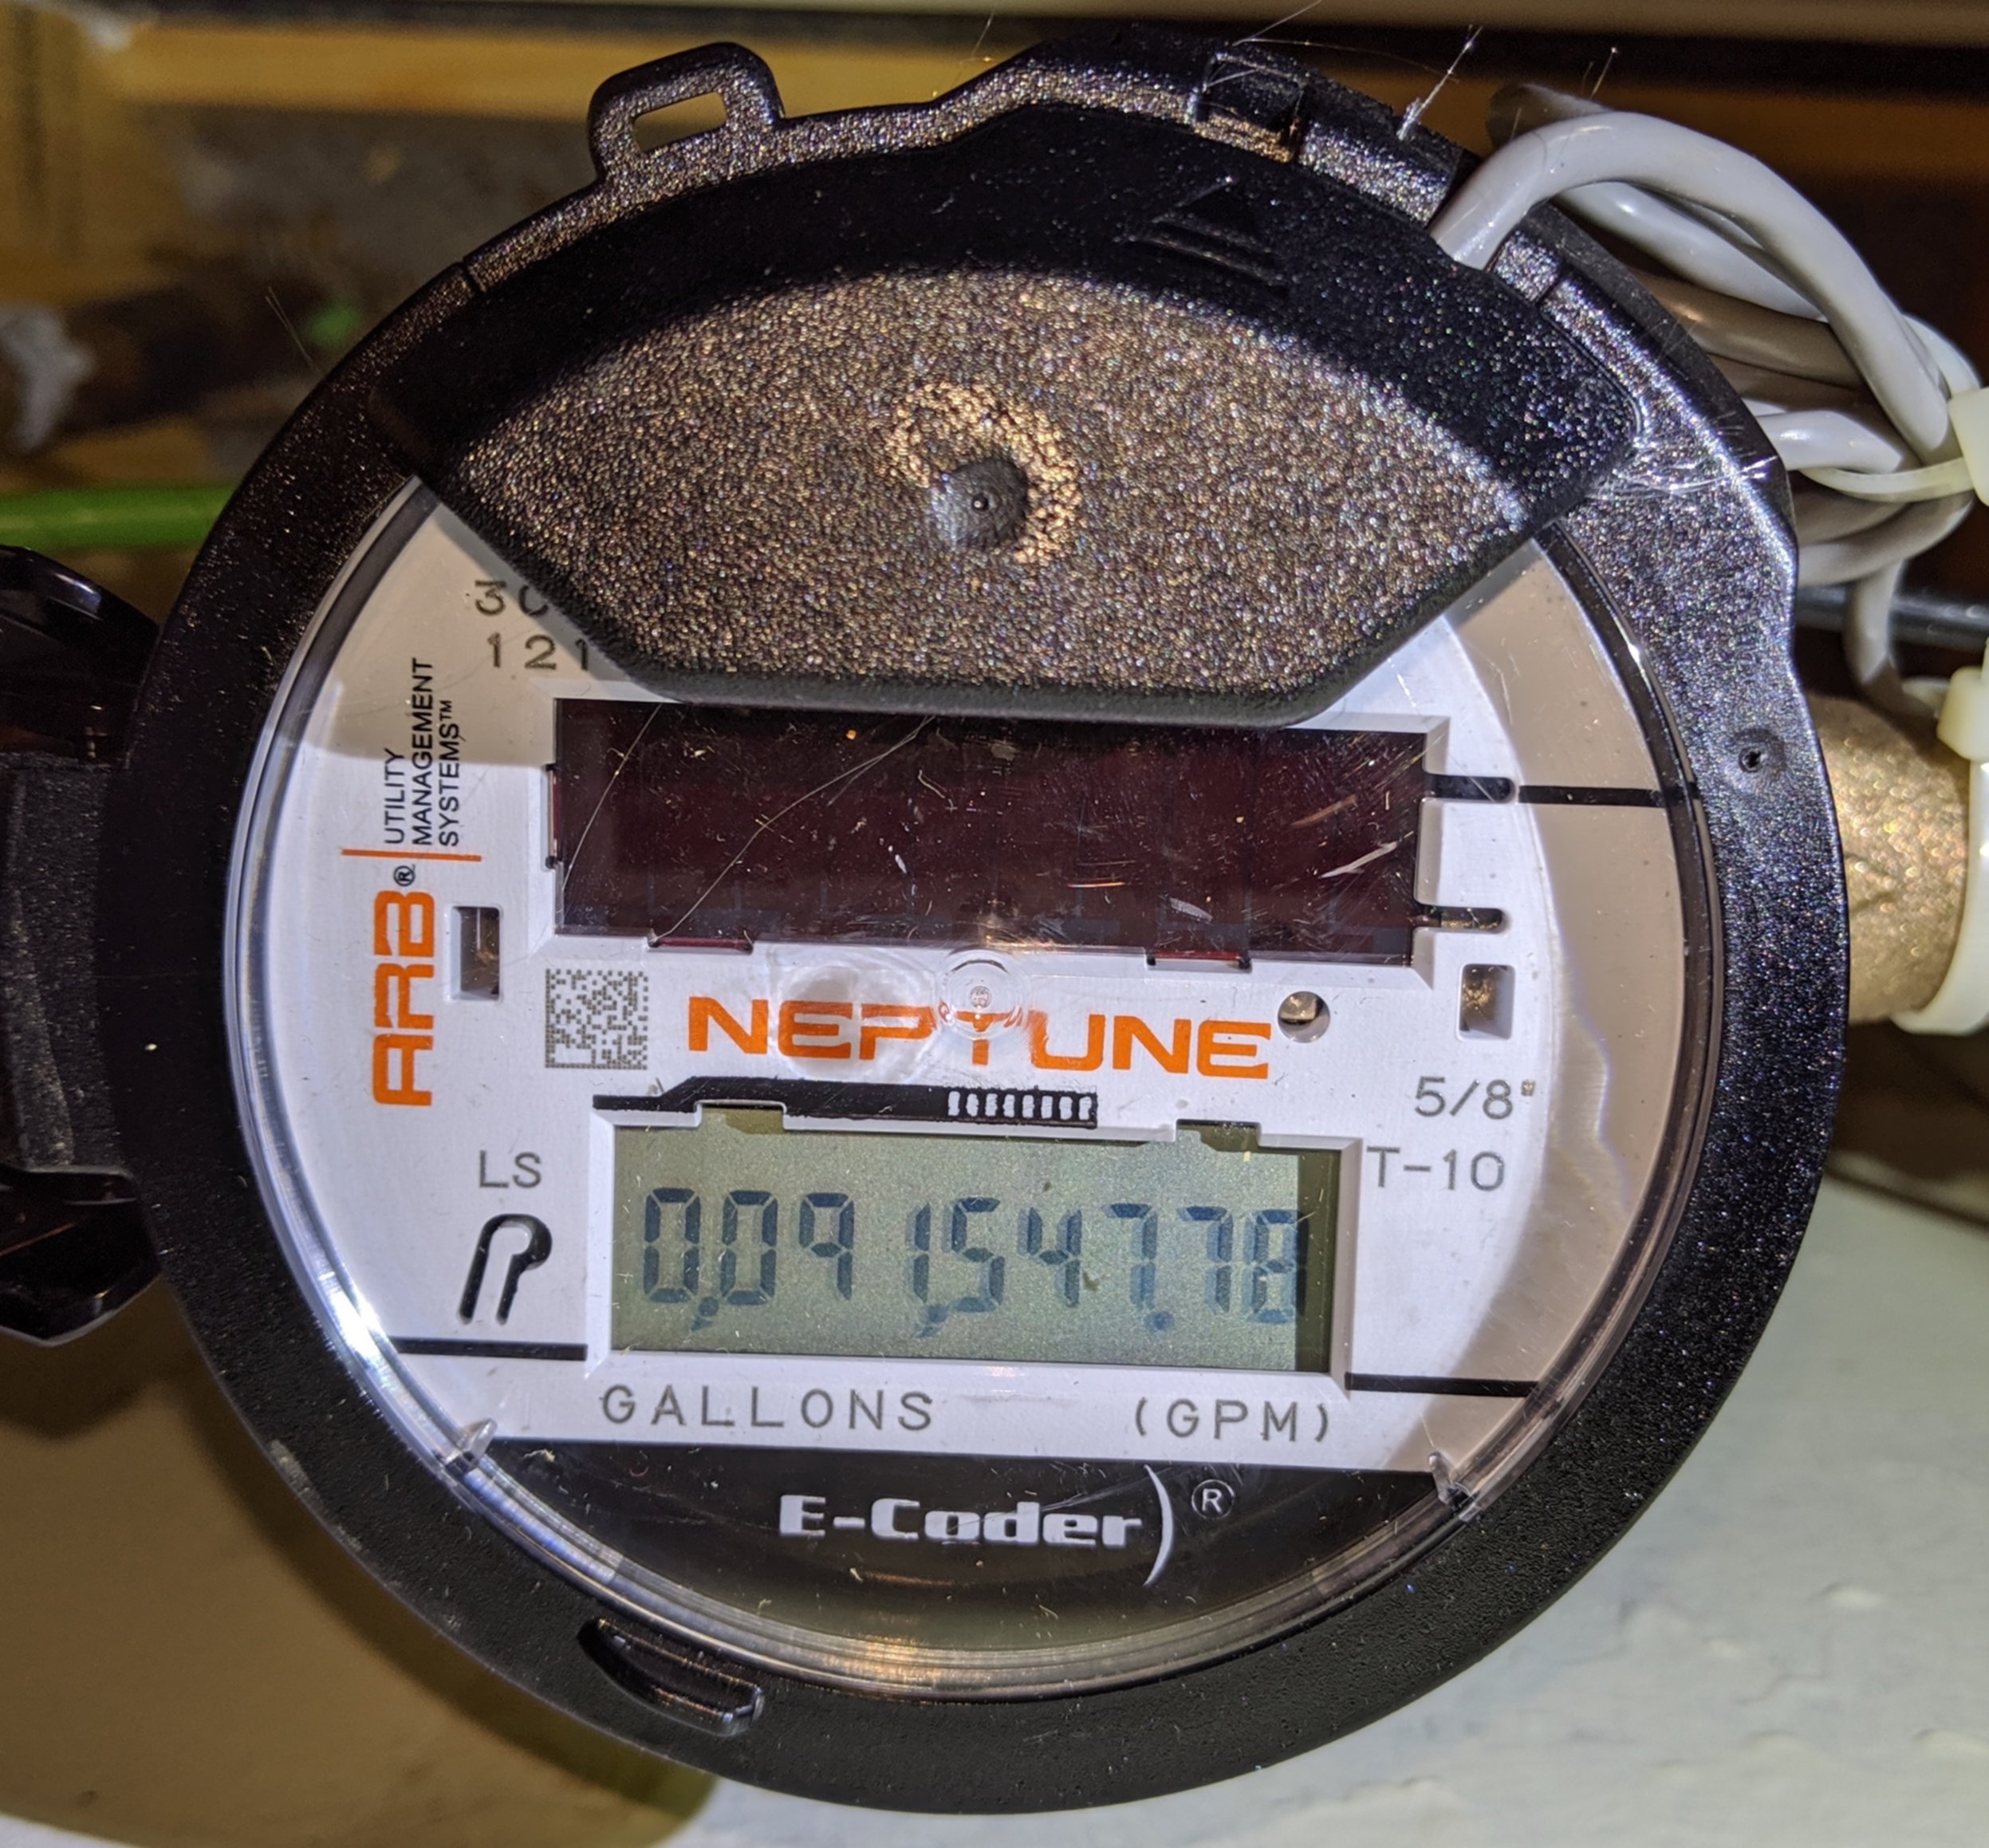
Last year my city began installing Neptune E-Coder smart water meters with R900 meter interface units. I was excited because I had a spare software-defined radio that I could put to use. I was also excited because I’m a nerd.
I wasn’t a Home Assistant user at the time. I set up rtlamr, inserted readings into InfluxDB, set up graphs in Grafana, and called it a day.
Well, I recently started using Home Assistant, so I’ve been searching for a way to integrate my meter. I’m going to cover two easy methods of getting rtlamr output into Home Assistant. I’m working with a water meter but these should be adaptable to gas and electric smart meters as well.
Requirements
- Compatible smart meter
- RTL2832U-based software-defined radio warning: affiliate link
- A computer. I’m using Raspbian Buster on a Raspberry Pi 4, but any Linux, macOS, or Windows PC should work
Install dependencies
You need rtl-sdr, golang, git, and jq. You will find these in your
package manager on Linux or Homebrew on macOS.
Find your meter interface unit ID
You need to locate your water meter’s 10-digit MIU ID. Your SDR will also pick up your neighbors meters and you will use your ID to filter them out. My MIU ID is printed on a label affixed to the R900 unit outside.
If you are unable to find your ID take a manual reading, run rtlamr without a filter, and get the ID from a transmission with a matching consumption value.
jq to the rescue
Here is a sample of rtlamr’s JSON output:
{
    "Time": "2019-09-12T10:04:40.940874822-05:00",
    "Offset": 0,
    "Length": 0,
    "Type": "R900",
    "Message": {
        "ID": 1499285123,
        "Unkn1": 163,
        "NoUse": 32,
        "BackFlow": 0,
        "Consumption": 915521,
        "Unkn3": 0,
        "Leak": 0,
        "LeakNow": 0
    }
}
Unfortunately Home Assistant can only extract top level json_attributes from
a sensor. If your JSON includes children then you have to create template
sensors to access these values.
You can avoid template sensors by piping the JSON through jq to move all of
the Message elements to the top level:
jq '. |= del(.Message) + .Message'
Option 1: Command line sensor
If you connected your SDR to your Home Assistant machine, and you are not running Home Assistant with Docker, then you can set up a command line sensor.
Download rtlamr and start rtl_tcp:
GOPATH=${HOME} go get github.com/bemasher/rtlamr
sudo rtl_tcp &
Add the sensor to your Home Assistant configuration, making sure you plug in your MIU ID:
sensor:
  - platform: command_line
    name: neptune
    command: ${HOME}/bin/rtlamr -msgtype=r900 -format=json -single -duration=1m -filterid=YOUR_MIU_ID | jq -c '. |= del(.Message) + .Message'
    command_timeout: 45
    value_template:
      '{{ value_json.Consumption | float / 10 }}'
    unit_of_measurement: 'gal'
    json_attributes:
      - Time
      - BackFlow
      - Consumption
      - Leak
      - LeakNow
Your water meter emits readings periodically, and rtlamr will block until it gets one. Your Home Assistant log is going to fill up with warnings that this sensor is taking longer than 10 seconds.
Option 2: RESTful sensor
If your SDR is not connected to your Home Assistant machine, or you are
running Home Assistant with Docker, then you can use
stdout_httpd with a RESTful
sensor. stdout_httpd is a
simple program I wrote to serve the last line of standard output over HTTP.
Start rtl_tcp, rtlamr, and stdout_httpd, making sure you plug in your
MIU ID:
sudo rtl_tcp &
GOPATH=$(pwd) go get \
  github.com/bemasher/rtlamr \
  github.com/abaker/stdout_httpd
bin/rtlamr -msgtype=r900 -format=json -filterid=YOUR_MIU_ID |
  jq --unbuffered -c '. |= del(.Message) + .Message' |
  bin/stdout_httpd -port 8080
Add the sensor to your Home Assistant configuration:
sensor:
  - platform: rest
    name: neptune
    resource: http://your-sdr-host:8080
    force_update: true
    value_template:
      '{{ value_json.Consumption | float / 10 }}'
    unit_of_measurement: 'gal'
    json_attributes:
      - Time
      - BackFlow
      - Consumption
      - Leak
      - LeakNow
That’s it!
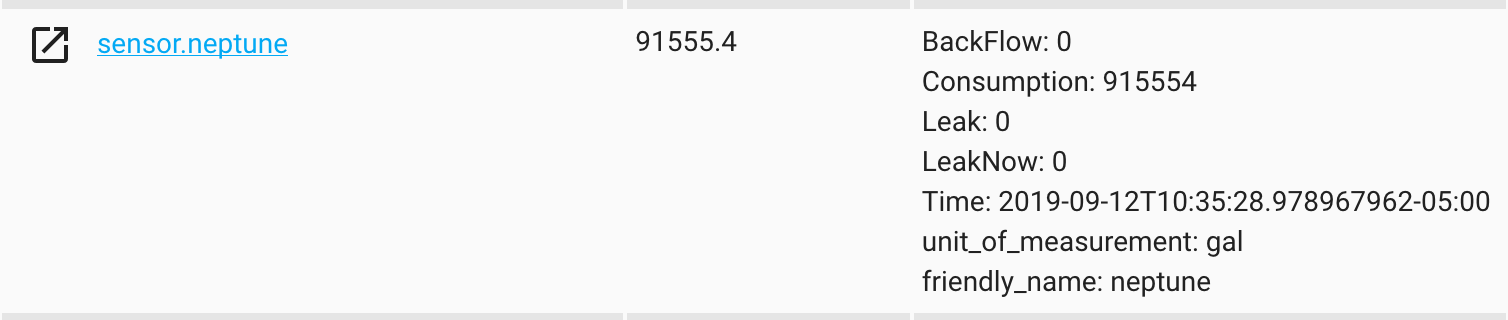
Restart Home Assistant to check out your new sensor. You can detect leaks and backflow using sensor attributes.
If you had any trouble setting this up leave a comment below and I’ll try to help out